How to Install a Soft Top on a Jeep: Step-by-Step Guide
Do you have a Jeep? Want a soft top on it? A soft top can be great. It is perfect for summer drives. Installing it might seem hard. But don’t worry. This guide will help you. Step by step.
Why Choose a Soft Top?
Soft tops are light. They are easy to remove. You can enjoy the fresh air. Feel the wind in your hair. They are also flexible. You can fold them. Store them easily. They are perfect for adventure lovers.
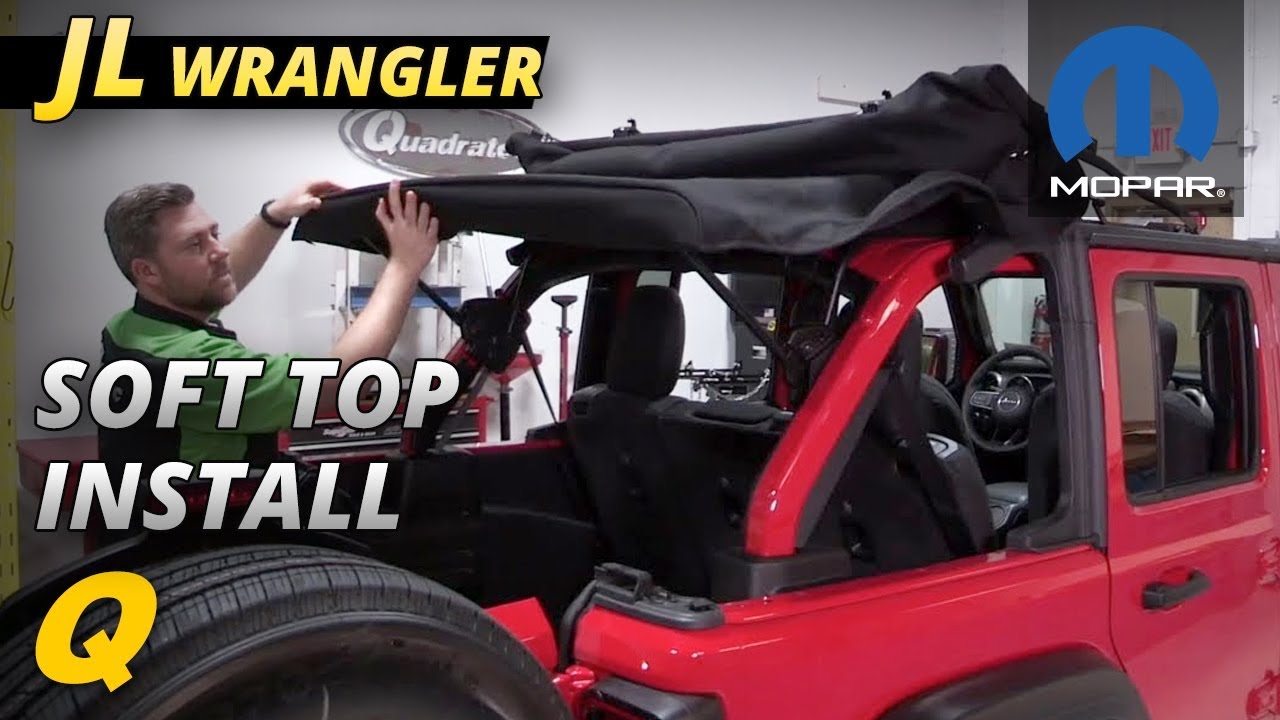
Credit: www.youtube.com
What You Need Before Starting
Before you start, gather all tools. This makes the process easy. Here is a list of things you need:
- Soft top kit
- Screwdriver
- Wrench
- Lubricant
- Clean cloth
- Instructions manual
Make sure you have all these items. It is important to follow the instructions. Read the manual carefully.
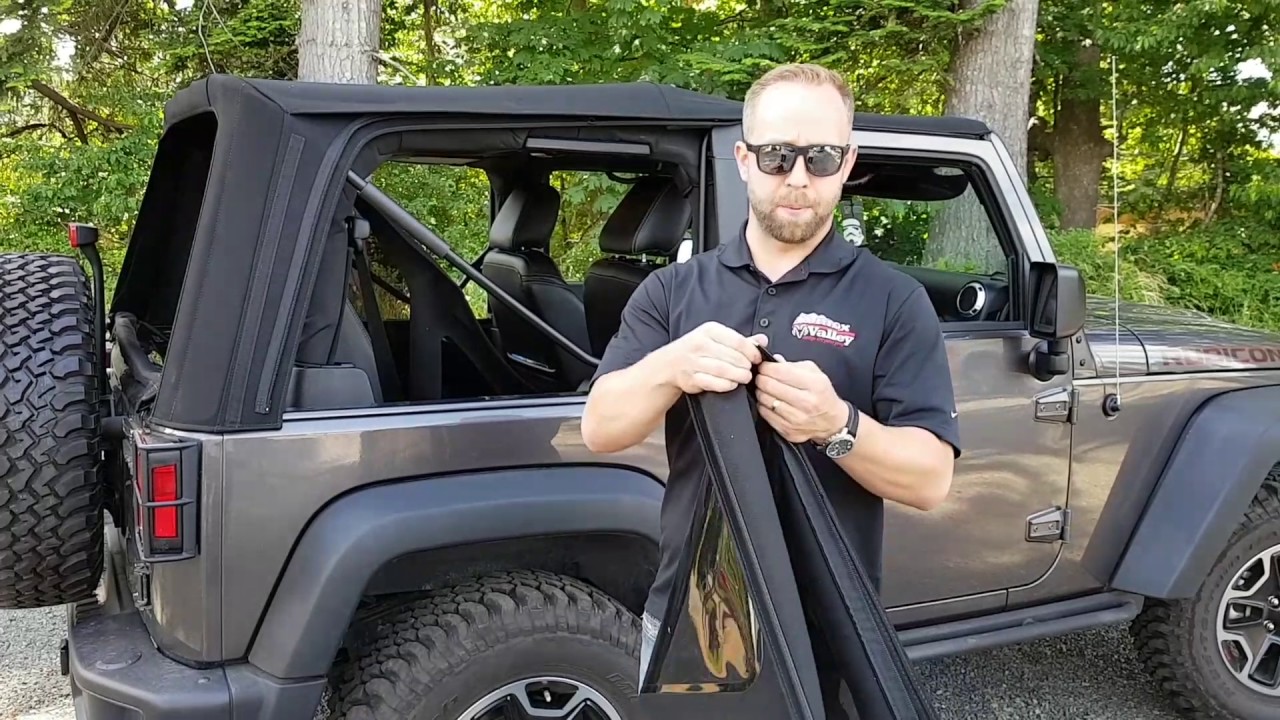
Credit: www.extremeterrain.com
Steps to Install a Soft Top on Your Jeep
Follow these steps to install the soft top. Take your time. Do it carefully.
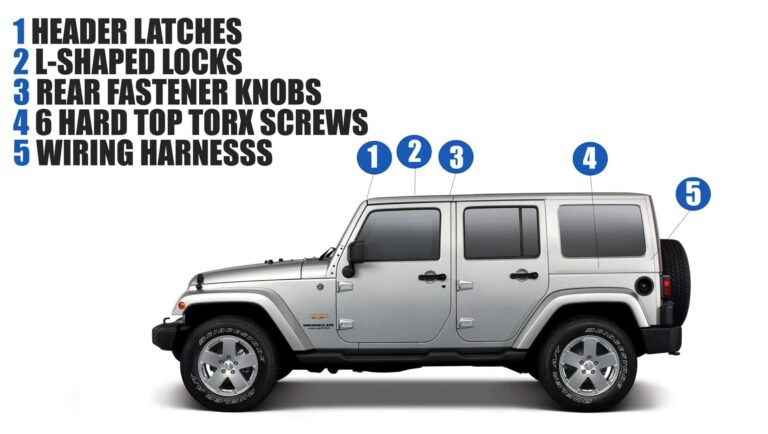
Step 1: Remove The Hard Top
First, take off the hard top. Use a wrench. Loosen the bolts. Keep them safe. You will need them later. Ask a friend to help. The hard top can be heavy. Lift it gently. Place it aside.
Step 2: Clean The Jeep
Now, clean the Jeep. Use a clean cloth. Remove any dust. This makes the installation smooth. Check the surfaces. They should be dry.
Step 3: Unpack The Soft Top Kit
Open the soft top kit. Lay out all parts. Make sure nothing is missing. You should have the frame, fabric, and windows.
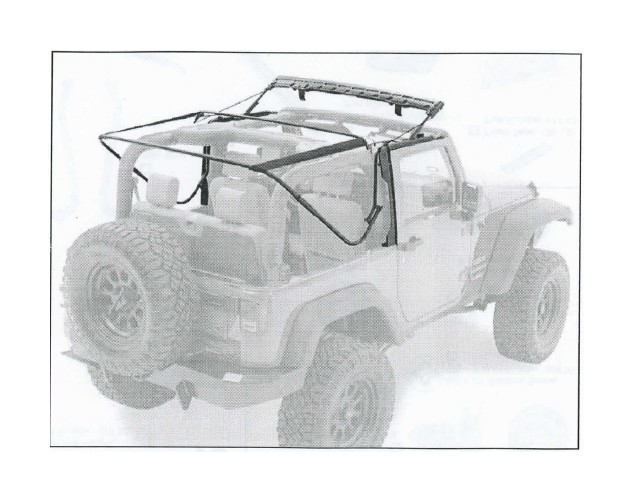
Step 4: Install The Frame
Start with the frame. Attach it to the Jeep. Use the screwdriver. Tighten the screws. Make sure it is secure. The frame is the base. It holds the fabric in place.
Step 5: Attach The Soft Top Fabric
Now, take the fabric. Align it with the frame. Start from the front. Move towards the back. Pull it tight. Use clips and straps. Secure the fabric to the frame.
Step 6: Install The Side Windows
Take the side windows. Slide them into place. Use the zippers. Make sure they zip smoothly. Do not force them. They should fit snugly.
Step 7: Install The Rear Window
Now, attach the rear window. Align it properly. Zip it up. Check for any gaps. The window should be tight. It should keep the rain out.
Step 8: Check Everything
Go over your work. Check all connections. Make sure everything is tight. Look for loose straps. Adjust them if needed. The soft top should be firm.
Step 9: Test The Soft Top
Take your Jeep for a spin. Listen for any noise. Flapping noises mean it’s loose. Tighten it again if needed. Ensure it is safe and secure.
Tips for Maintaining Your Soft Top
Taking care of your soft top is important. Here are some tips:
- Clean it regularly. Use a soft brush.
- Avoid harsh chemicals. They can damage the fabric.
- Check for wear and tear. Fix small issues quickly.
- Store it properly in winter. Keep it dry.
Benefits of a Soft Top
Soft tops are not just for looks. They have many benefits:
- They are easy to remove and install.
- They offer a great open-air driving experience.
- They are lightweight. This can improve fuel efficiency.
- They are usually more affordable than hard tops.
These benefits make soft tops a great choice. Especially for those who love the outdoors.
Frequently Asked Questions
How Do I Prepare My Jeep For A Soft Top Installation?
Ensure your Jeep is clean and dry. Remove any existing hard top parts.
What Tools Are Needed To Install A Jeep Soft Top?
You’ll need a screwdriver, wrench, and pliers. Basic hand tools.
How Long Does It Take To Install A Jeep Soft Top?
It usually takes about 2-3 hours. Depends on experience.
Can One Person Install A Jeep Soft Top Alone?
Yes, one person can do it. But an extra pair of hands helps.
Conclusion
Installing a soft top on your Jeep is fun. It might take time. But it is worth it. Follow these steps. Take your time. Enjoy the process.
Remember to maintain your soft top. Keep it clean. Check it regularly. This will ensure it lasts long. Now, go enjoy your Jeep. Feel the wind. Embrace the adventure.
Thank you for reading this guide. We hope it helps you. Have a great time with your Jeep!